Revit Roof With Multiple Slopes

Solved Roof That Slopes In 2 Directions Autodesk Community Revit Products

Revit Roof Basics 10 Slope Arrow Cadclips Youtube

Create A Roof Slope Using Slope Arrows Revit Products 2017 Autodesk Knowledge Network
Revitcity Com Dormers On Complex Roofs
Video Shape Editing Roof And Floor Slabs Revit Products 2019 Autodesk Knowledge Network

Revit Tutorials Roofs Youtube
Creating a roof with different eave heights you can create a roof with slope defined lines at different.
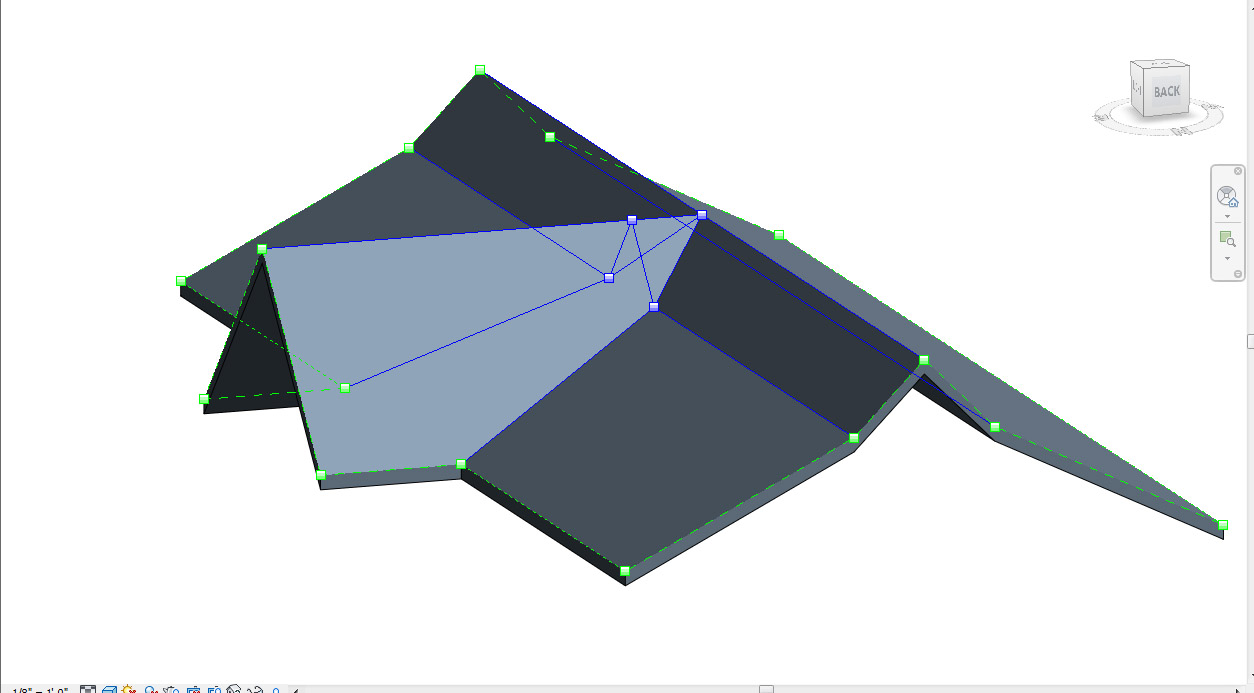
Revit roof with multiple slopes.

About Sloped Surfaces Revit Products 2019 Autodesk Knowledge Network
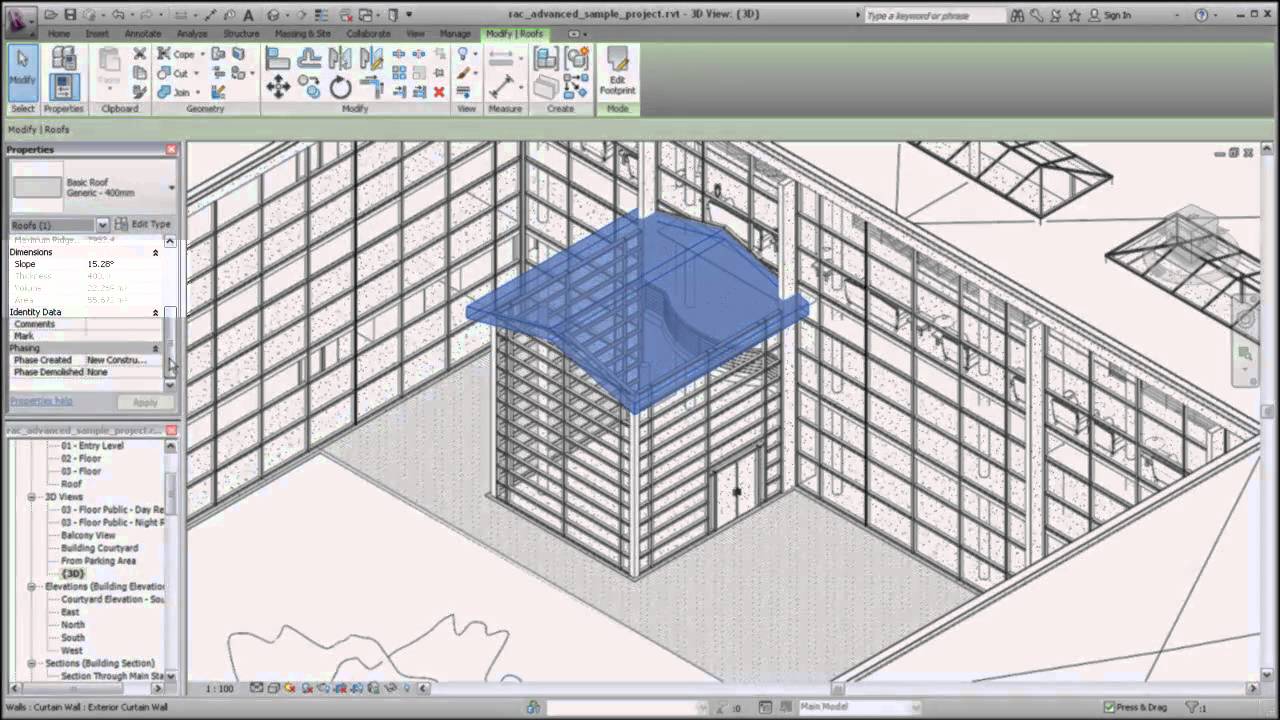
Autodesk Revit Architecture Creating A Sloped Roof Youtube

About Editing Floor And Roof Shape Revit Products 2018 Autodesk Knowledge Network

Solved Multi Sloped Roof Autodesk Community Revit Products

Solved Single Wall Attach To Two Roofs Autodesk Community Revit Products
Creating Complex Roof In Revit Cadnotes
Varying Slope Hipped Roof

Solved Build A Roof With 2 Slopes And Wall Higher On One Side Autodesk Community Revit Products

Solved How Modeling A Conceptual Mass With A Faceted Roof Autodesk Community Revit Products

Revit Roof By Extrusion A How To Guide Youtube

How To Create A Thatch Roof In Revit Micrographics Thatched Roof Thatch Roof

Working With Slope Arrows

Trim Wall Top With Ref Plane Autodesk Community Revit Products
Create A Dormer Opening In A Roof Revit Products 2018 Autodesk Knowledge Network

Framing Roof Panels Trusses Rafters In Revit Webinar Agacad

Adding A Roof In Revit Youtube

Revit 2013 Roof Framing Extension Autodesk Revit Structure

Common Types Of Roofs How To Model Them In Autodesk Revit Agacad
Https Encrypted Tbn0 Gstatic Com Images Q Tbn 3aand9gcqxw8we2bv5gjaapbd4szzagwda Mezdx6oi9dta K Usqp Cau

About Multi Monitor Support Revit Products 2020 Autodesk Knowledge Network

Roofs In Revit 8020 Bim

Auto Generate Complex Roof Truss Systems In Revit Youtube

Join Roofs One Ridge Higher Than The Other Autodesk Community Revit Products
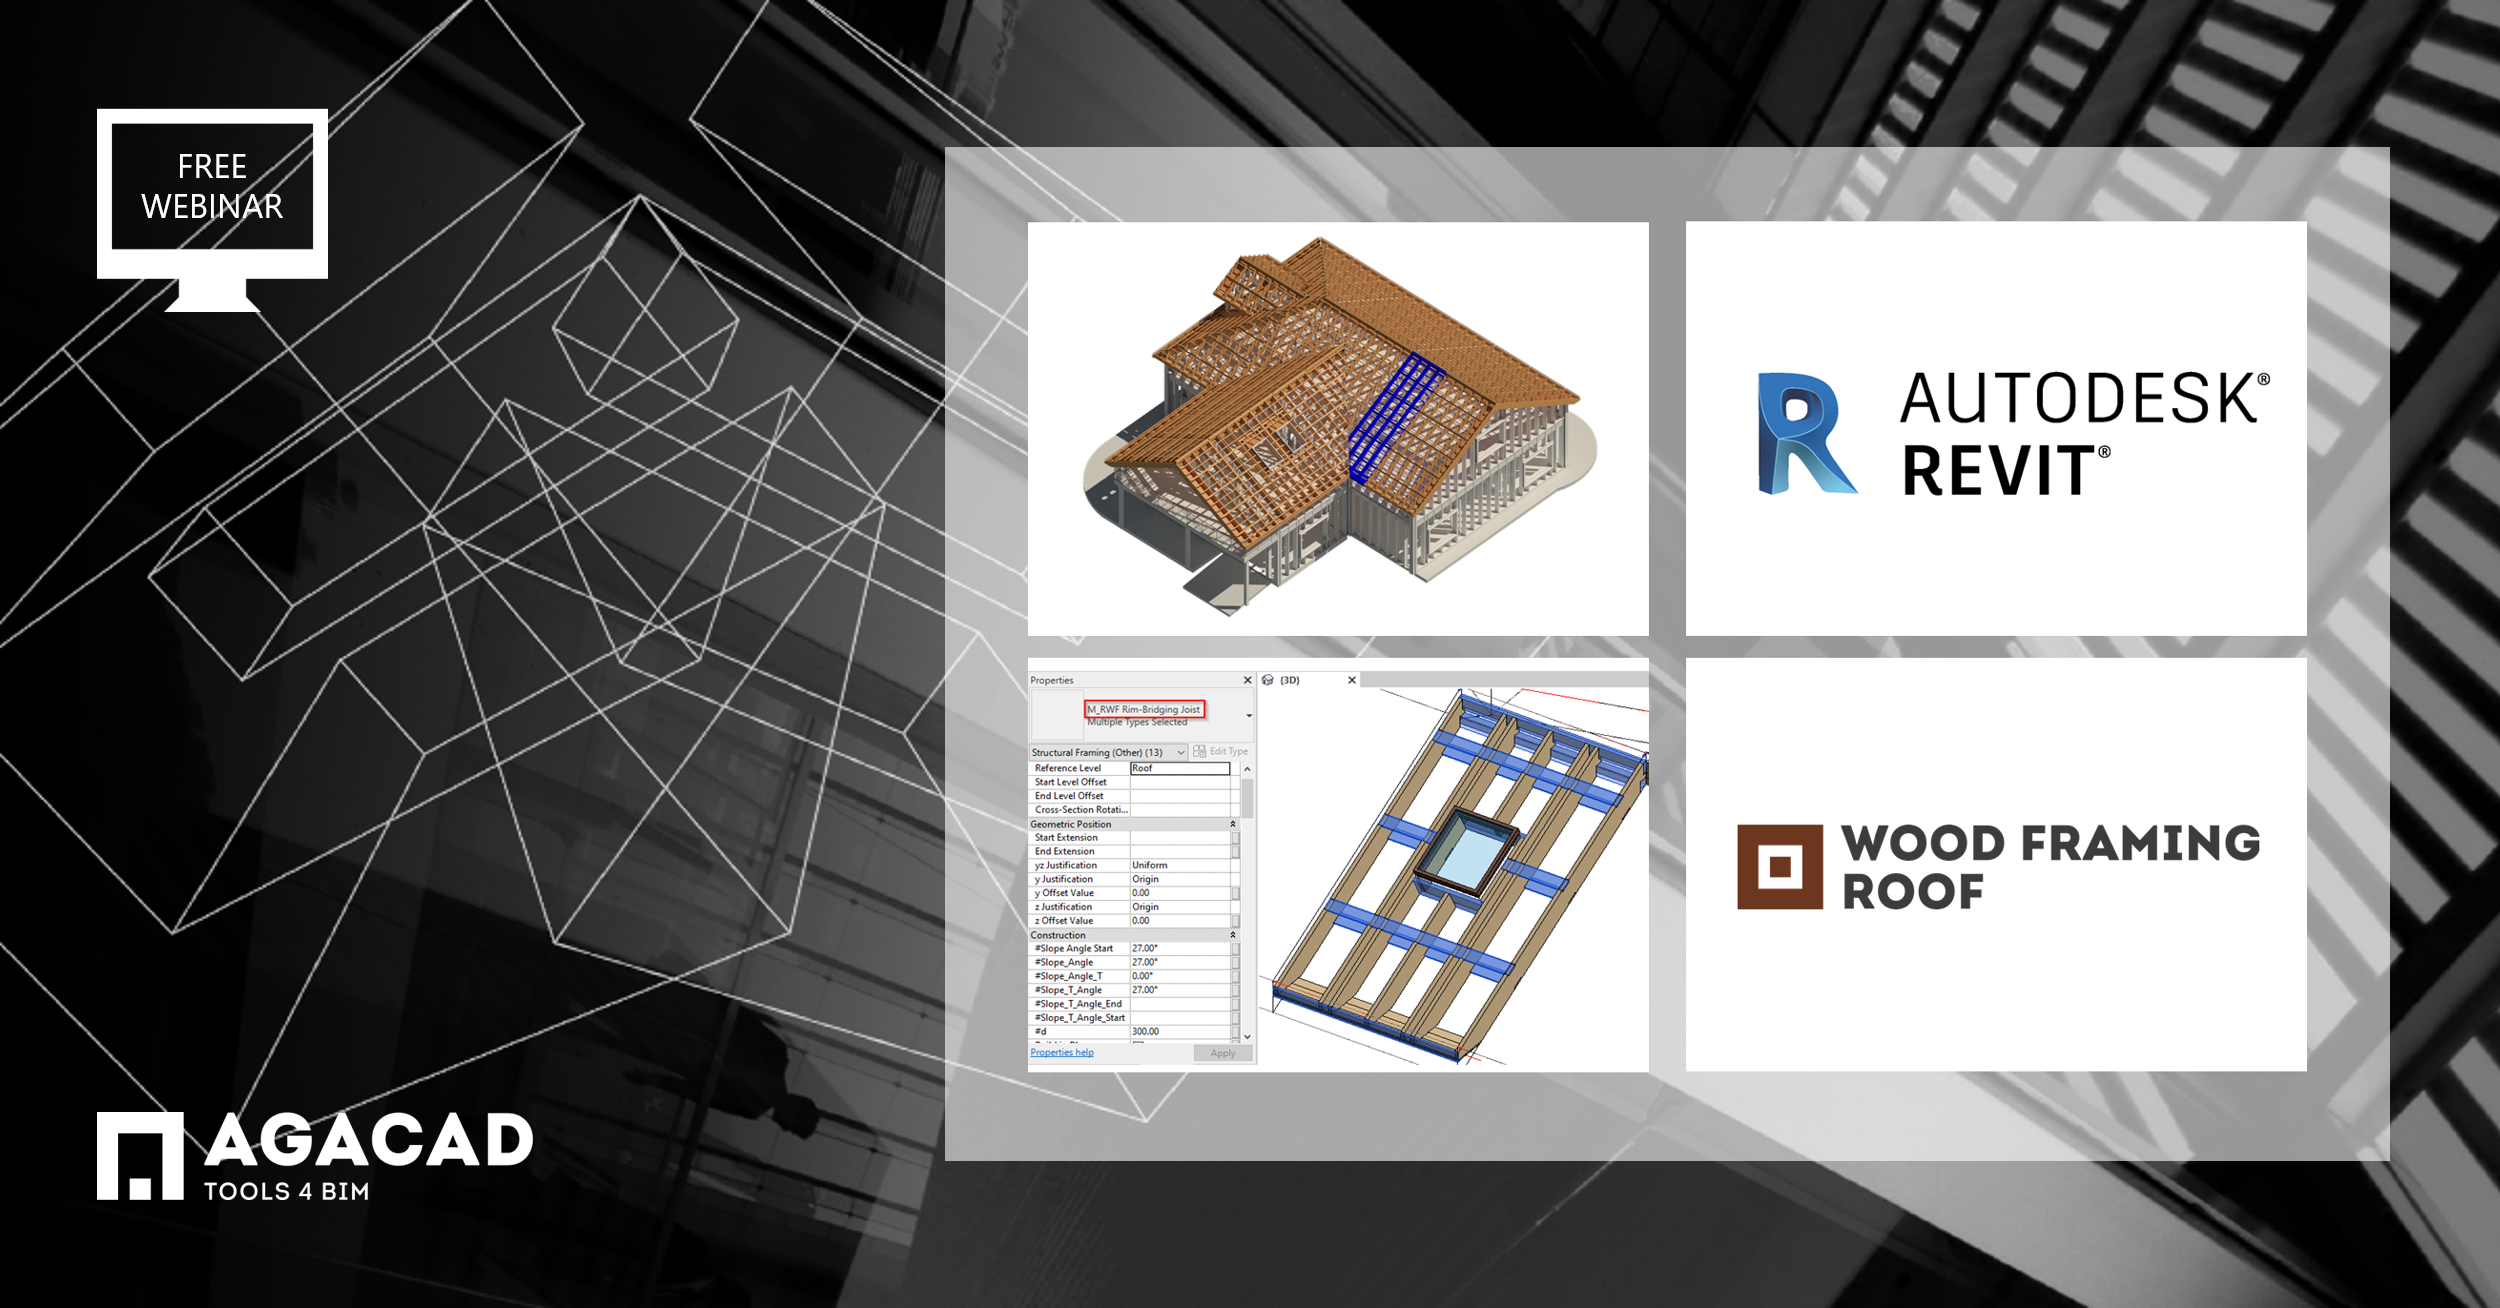
New Version Of Wood Framing Roof With New Sample Revit Families Webinar Agacad
Source : pinterest.com
