Revit Join Two Gable Roof At Different Height

Solved Gable Roof Autodesk Community Revit Products

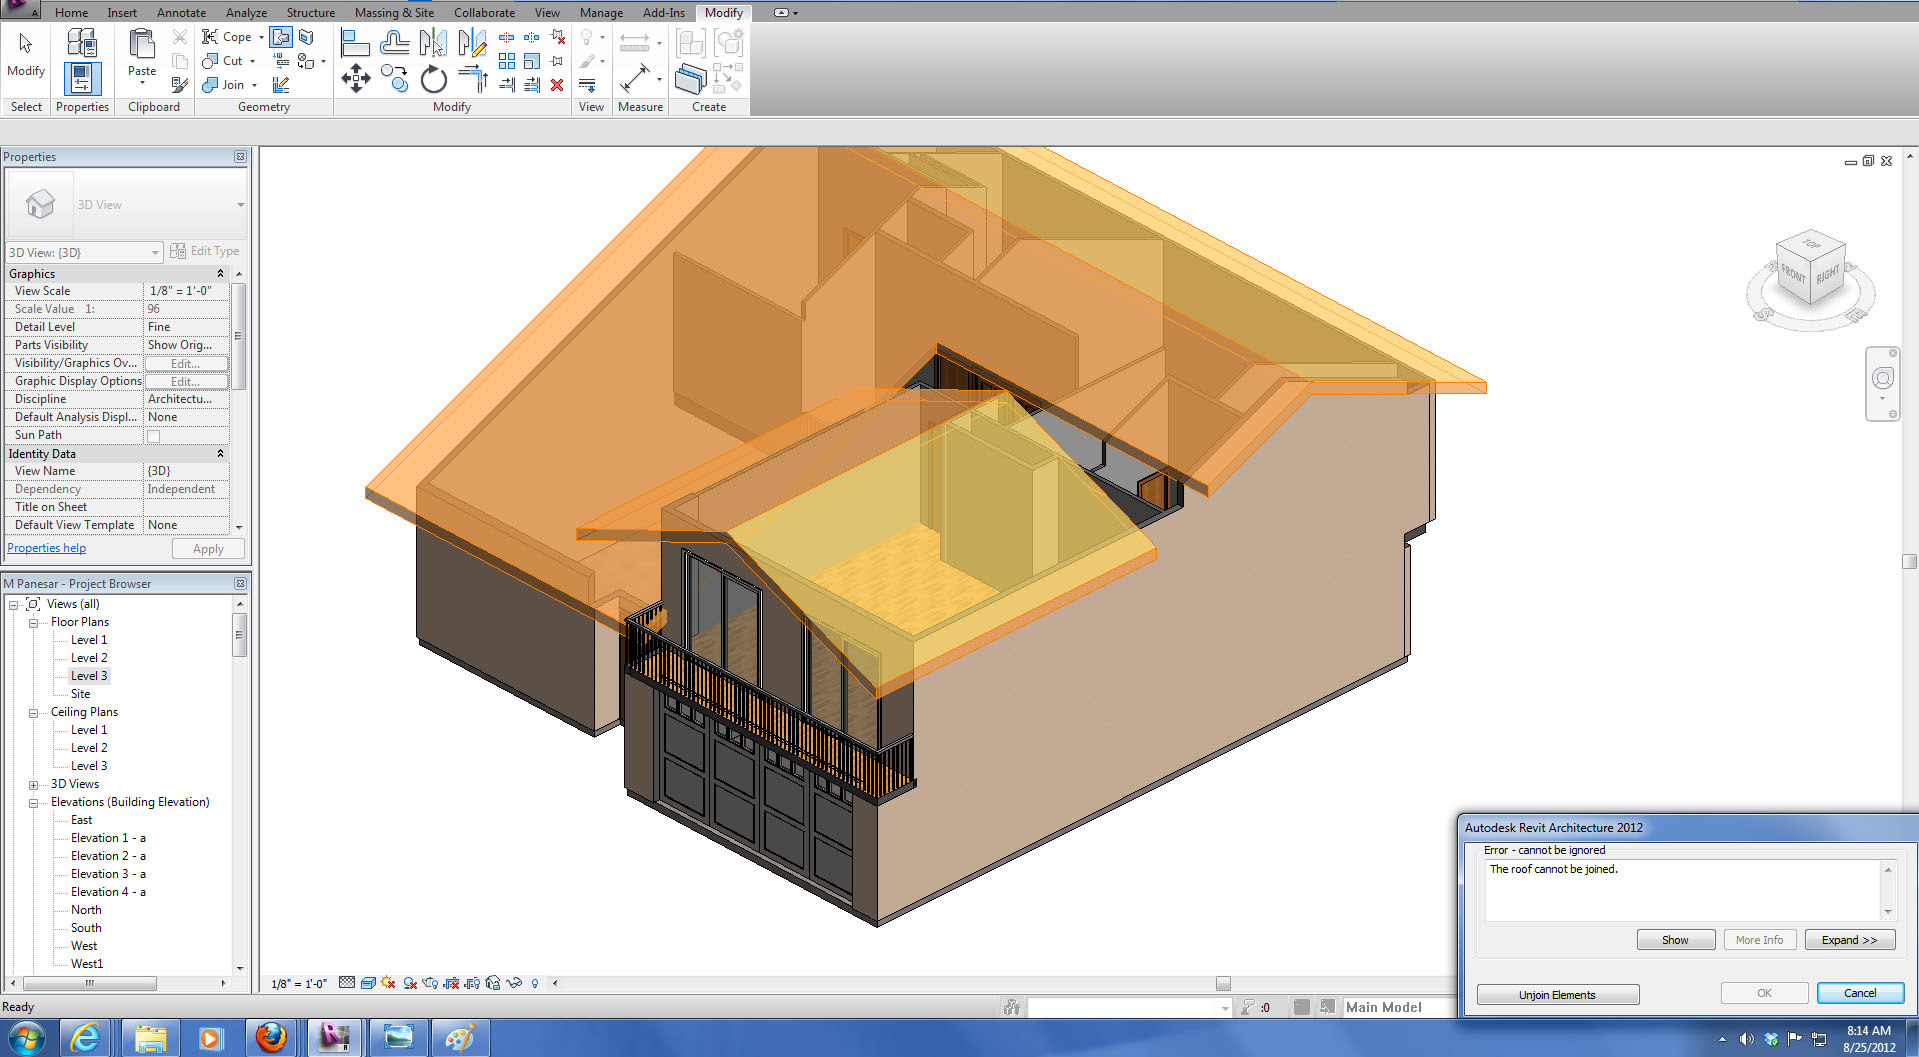
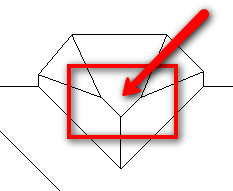
Solved Roof Joining Problems Autodesk Community Revit Products

Revit Roof Basics 04 Intersect By Roof Join Cadclips Youtube

Trim Interscting Roofs Autodesk Community Revit Products

Solved Gable Roof Edit Question Autodesk Community Revit Products

Solved Single Wall Attach To Two Roofs Autodesk Community Revit Products

Sloped edges on a roof sketch line create a sloped roof.
Revit join two gable roof at different height.

9 Tips To Understand Revit Roofs Revit Pure
Roof Head Height Align Autodesk Community Revit Products

Solved Revit Sloping A Gable Roof Autodesk Community Revit Products

Revit Tutorials Roofs Youtube
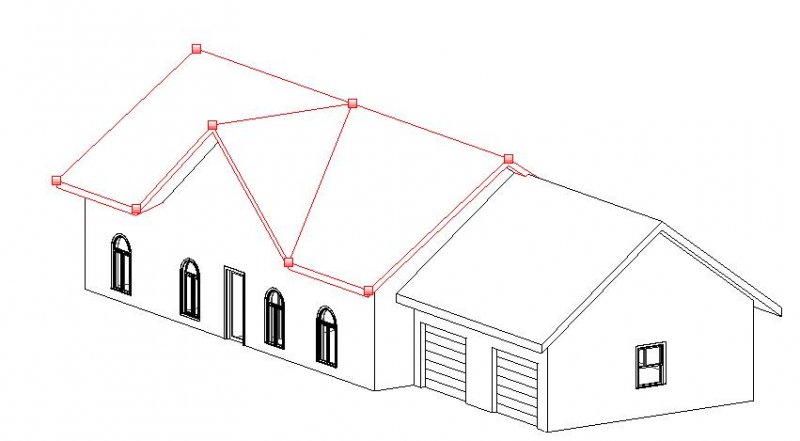
Revitcity Com Can T Get Gable Roof To Join Hip Roof

Creating A Roof Slope Using Slope Arrows Revit Products Autodesk Knowledge Network
Inside The Factory Tips Tricks
.png)
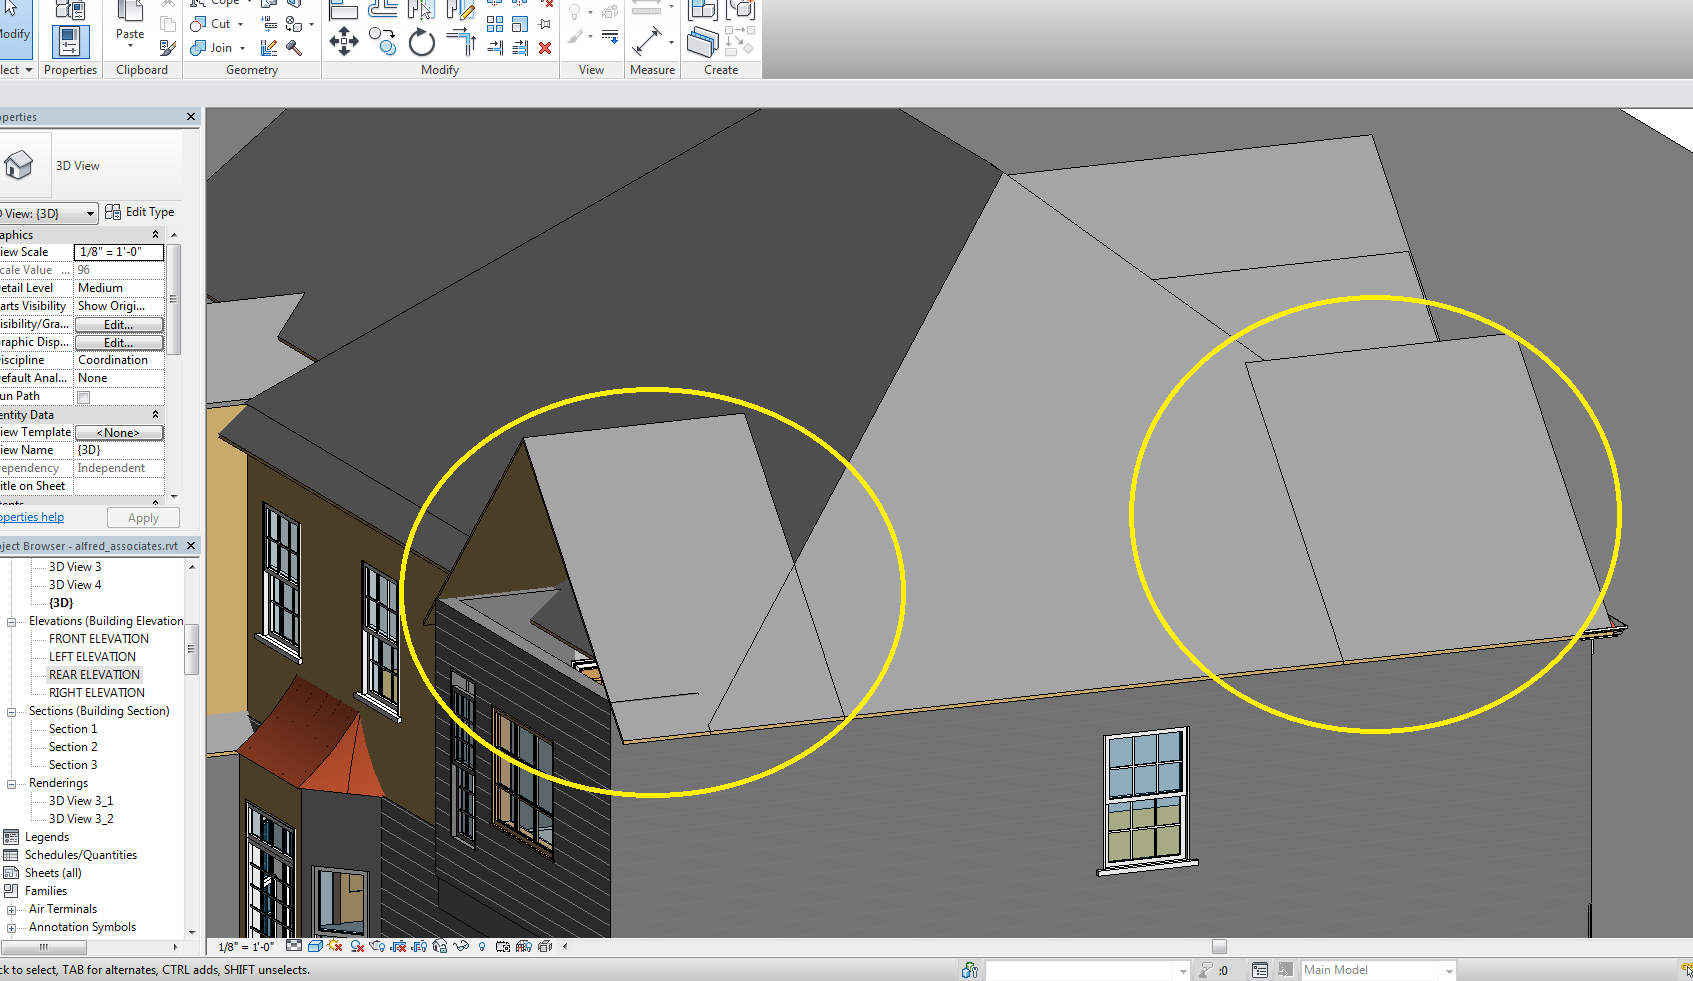
Gable Wall Will Not Attach To Dormer Roof Autodesk Community Revit Products
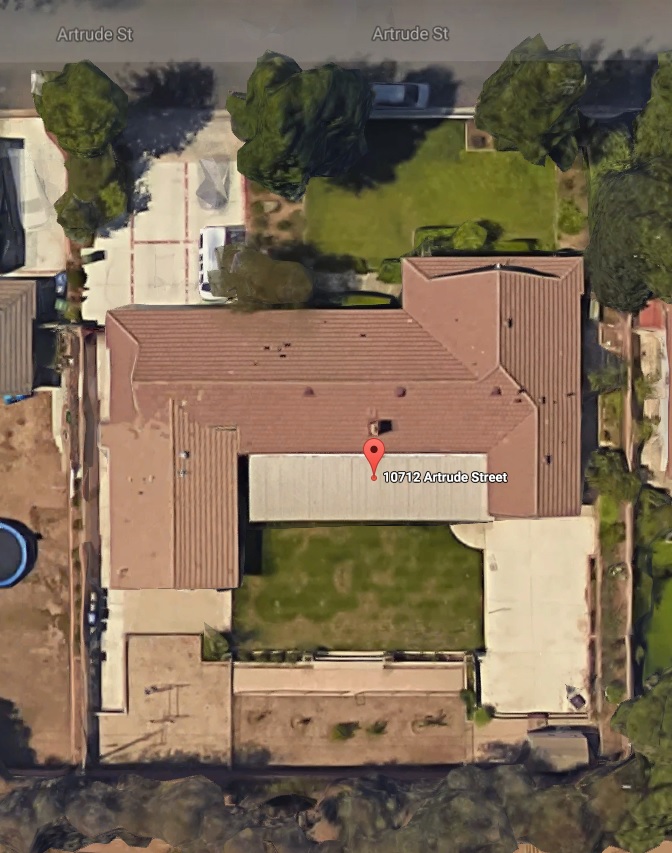
Revitcity Com Irregular Residential Roof

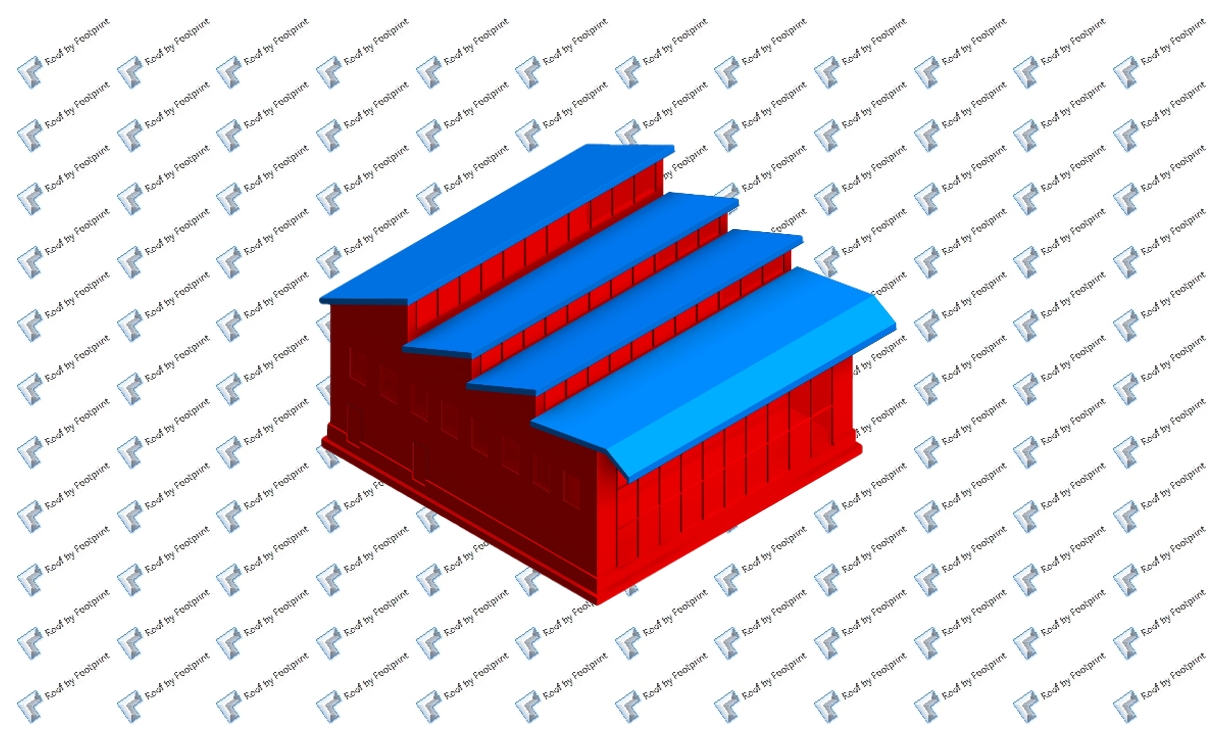
Revit Architecture Roof By Footprint Bimscape

Revit Roof Basics 10 Slope Arrow Cadclips Youtube

Solved Roof Overhang Overlap Single Sketch Autodesk Community
Revitcity Com Revit Roof Issue

Solved Sloped Roof With Different Height Autodesk Community Revit Products
Gable Roofs In Revit 2009 Autodesk Revit Autocad Forums

Solved Roof Wall Join One Side Roof Misses Autodesk Community Revit Products

Modelling Gable Roof In Revit Youtube

Https Encrypted Tbn0 Gstatic Com Images Q Tbn 3aand9gcqkwejgggz5h 9i38jxwwjq5uicq3wrxloicw Usqp Cau
Https Encrypted Tbn0 Gstatic Com Images Q Tbn 3aand9gctsgj Zwe 2dv1gc P1qf Kango X Ofnhnzttppcdcdnyhro L Usqp Cau
Revitcity Com Residential Roof Can T Join Plan Pitch With Gable

Revit Roof Edits Increasing The Overhang Youtube

How To Make A Dutch Gable Roof Revit Products 2018 Autodesk Knowledge Network
Creating Complex Roof In Revit Cadnotes
Common Types Of Roofs How To Model Them In Autodesk Revit Agacad
Source : pinterest.com
